
6 Feb 2026
Post by Gabriel
Introduction
The PlayStation 5 is renowned for delivering outstanding gaming experiences, but issues with the HDMI port can disrupt this enjoyment. This guide aims to help you swiftly and effectively replace the HDMI port on your PS5, getting you back to gaming without any technical hiccups. If you find yourself facing issues like no video output or inconsistent images on your screen, it’s likely time to address your HDMI port.
Understanding HDMI Port Issues on the PS5
Familiarizing yourself with the potential issues affecting your HDMI port can assist you in determining whether a replacement is necessary. Let’s delve into some common symptoms and causes that can lead you to take this step.
- Signs of a Faulty HDMI Port:
- Your screen remains blank despite the PS5 being turned on.
- Irregular images or screen flickering during gameplay.
- Physical inspection reveals bent pins or other visible damage to the port.
Understanding these symptoms of HDMI port failure highlights the need for possible replacement. But why do these issues arise in the first place?
- Common Causes of HDMI Port Failures:
- Repeated plugging and unplugging of the HDMI cable wears down the port.
- Physical impact or falls causing internal damage.
- Manufacturing defects that reveal themselves over time under everyday use.
Recognizing these issues not only shapes your approach to repair but also positions you to prevent future mishaps. Now, let’s ensure you are prepared with the right tools and a safe workspace for the repair process.
Preparing for HDMI Port Replacement
Effective preparation is crucial for successfully replacing the HDMI port on your PS5. Gathering the appropriate tools and setting up a secure workspace are your initial steps.
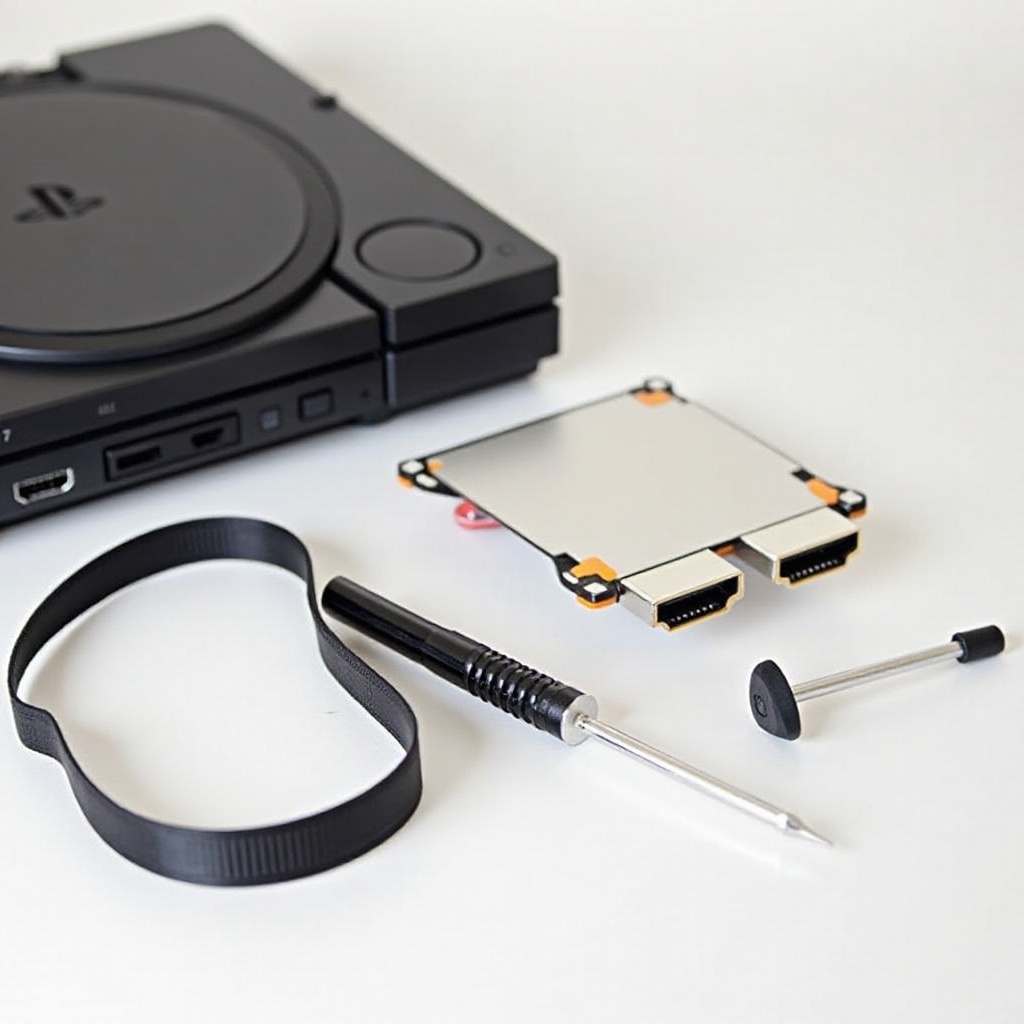
- Essential Tools Needed:
- Specific HDMI port replacement for PS5.
- Phillips-head screwdriver.
- Anti-static wristband to prevent electrical discharge.
- Precision pliers for delicate handling.
- Soldering iron and solder (utilize heat gun if necessary).
Having these tools ready will facilitate a smooth replacement process. Setting up a secure environment is also vital, so consider these precautions.
- Safety Precautions and Setup:
- Completely disconnect the PS5 from all power outlets and associated devices.
- Perform the repair on an anti-static mat to avoid static electricity damage.
- Keep the workspace organized and all tools within reach.
Once your setup is complete, you’re ready to embark on the replacement procedure, ensuring each step is executed with precision.
Step-by-Step Guide to Replacing the HDMI Port
Carefully adhere to these steps to effectively replace the HDMI port on your PS5. This systematic process increases the likelihood of a successful outcome.
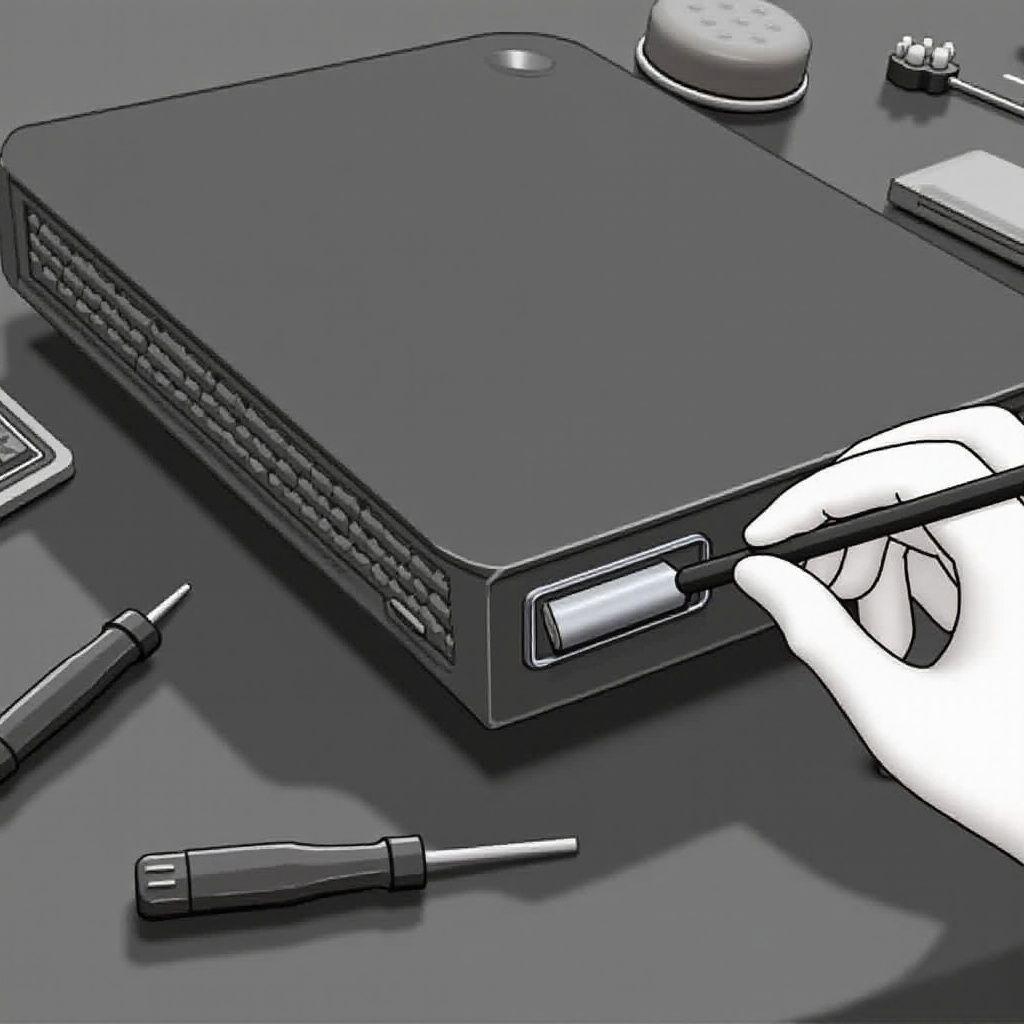
- Disassembling the PS5 Console:
- Carefully remove the faceplates by gently pulling them apart.
-
Unscrew the console base and securely set aside all removed screws.
-
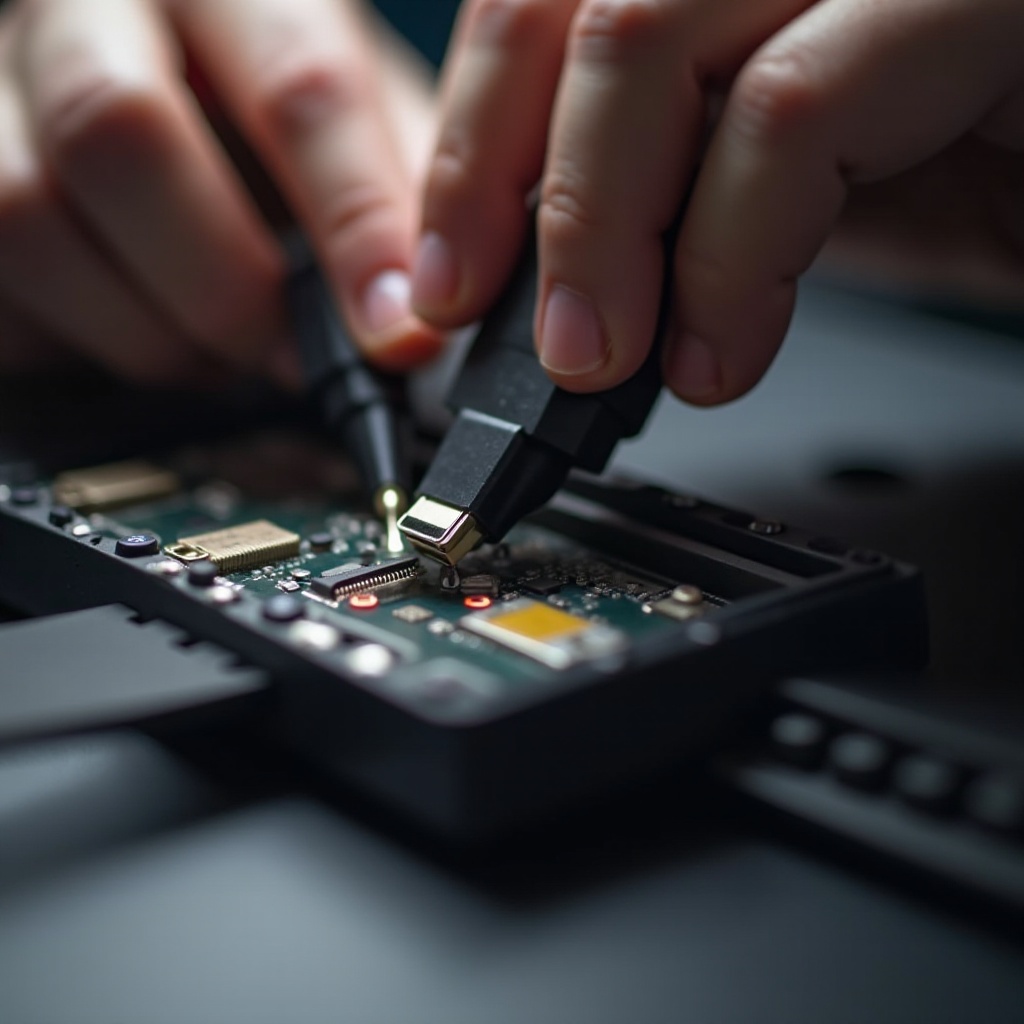
Removing the Damaged HDMI Port:
- Locate the HDMI port on the motherboard.
-
Use a soldering iron to cautiously remove the damaged port, preventing motherboard damage.
-
Installing the New HDMI Port:
- Align the new port precisely with the solder points on the board.
-
Secure the new port using the soldering iron, ensuring a strong, stable connection.
-
Reassembling the Console:
- Reattach the faceplates and console base by reversing the disassembly steps.
- Confirm all screws are tight and components are securely in place.
Following the replacement, confirm the port’s functionality to certify the success of your repair.
Testing the New HDMI Port
Testing the newly installed HDMI port is a pivotal step to ensure your repair was executed successfully. Confirming both video and audio output is crucial in this phase.
- Checking Video and Audio Output:
- Connect your PS5 to a display with the HDMI cable.
-
Turn on the PS5 to ensure the video and sound are functioning correctly.
-
Troubleshooting Post-Installation Issues:
- If problems persist, verify the HDMI cable and connections are intact.
- Reconfirm that the port is securely soldered to the motherboard with no loose connections.
With the new port functioning as expected, consider implementing some maintenance tips to sustain optimal PS5 performance.
Tips for Maintaining a Healthy PS5
To ensure your PS5, including its HDMI port, remains in excellent condition, regular maintenance is essential. Preventive measures can forestall future issues.
- Regular Maintenance Tips:
- Regularly clean your console to keep it dust-free.
- Use high-quality HDMI cables to minimize stress on the port.
-
Avoid frequent disconnection of cables unnecessarily.
-
Preventing Future HDMI Port Problems:
- Handle the console and its connections with care.
- Limit movement of the console when cables are attached to prevent strain.
Following these practices will help maintain your PS5’s full functionality and prevent the recurrence of similar issues.
Conclusion
Replacing the HDMI port on your PS5 is a task that demands attention to detail but is certainly within reach if you’re properly prepared. By following this comprehensive guide, you’ll be able to restore your console’s performance and enhance your gaming experiences. Embrace this opportunity to develop a hands-on understanding of your console, ensuring a smooth and enjoyable repair process.
Frequently Asked Questions
Can I replace the HDMI port on my PS5 myself, or should I seek professional help?
Replacing the HDMI port is feasible with the right tools and guide. If unsure, consult a professional to prevent potential damage.
How long does it typically take to replace an HDMI port on a PS5?
On average, replacing the HDMI port can take between 1-2 hours depending on your familiarity with electronics.
What should I do if the new HDMI port still doesn’t work?
Check all connections and solder joints. If issues persist, reaching out to a professional repair service is advisable.